Sourdough Pizza Crust Recipe
The Ultimate Sourdough Pizza Crust Recipe: Transform Your Homemade Pizza Game
Ingredients
This sourdough pizza crust recipe yields two 12-inch pizzas or four personal-sized pies, perfect for feeding a hungry family or impressing dinner guests with your artisanal baking skills.
For the Dough:
- 500g bread flour (high-protein flour creates better gluten structure; substitute with 400g all-purpose flour + 100g whole wheat for a nuttier flavor)
- 325g filtered water at room temperature (chlorinated tap water can inhibit fermentation; use bottled or filtered water for best results)
- 100g active sourdough starter (fed 4-8 hours prior, bubbly and doubled in size—this is your leavening powerhouse)
- 10g fine sea salt (enhances flavor and strengthens gluten; substitute with kosher salt if needed, using 12g)
- 15g extra virgin olive oil (adds richness and extensibility; omit for a leaner, traditional Neapolitan-style crust)
- 5g honey or sugar (optional, feeds the yeast and promotes browning—a game-changer for golden, caramelized edges)
For Assembly:
- Semolina flour or cornmeal for dusting (prevents sticking and adds textural interest to the bottom crust)
- Extra olive oil for brushing
The beauty of this naturally leavened sourdough pizza crust recipe lies in its simplicity—just six core ingredients create extraordinary results through the magic of time and fermentation.
Timing
Understanding the timeline for this sourdough pizza crust recipe is crucial for planning your pizza night perfectly.
- Active Preparation Time: 20 minutes (mixing, kneading, and shaping)
- Bulk Fermentation: 4-6 hours at room temperature (or 12-24 hours in the refrigerator for enhanced flavor development)
- Cold Fermentation (Optional but Recommended): 24-72 hours in the refrigerator
- Final Proofing: 1-2 hours at room temperature
- Baking Time: 8-12 minutes per pizza at maximum oven temperature
- Total Time: 6-8 hours (same-day method) or 26-74 hours (cold fermentation method)
While this sourdough pizza crust recipe requires more time than conventional yeast dough, the active hands-on work totals just 20 minutes—that’s 40% less effort than traditional kneading-intensive methods. The extended fermentation does all the heavy lifting, developing flavor complexity that compressed timelines simply cannot achieve. Pro tip: Start your dough 48 hours before pizza night for the most spectacular results with minimal planning stress.
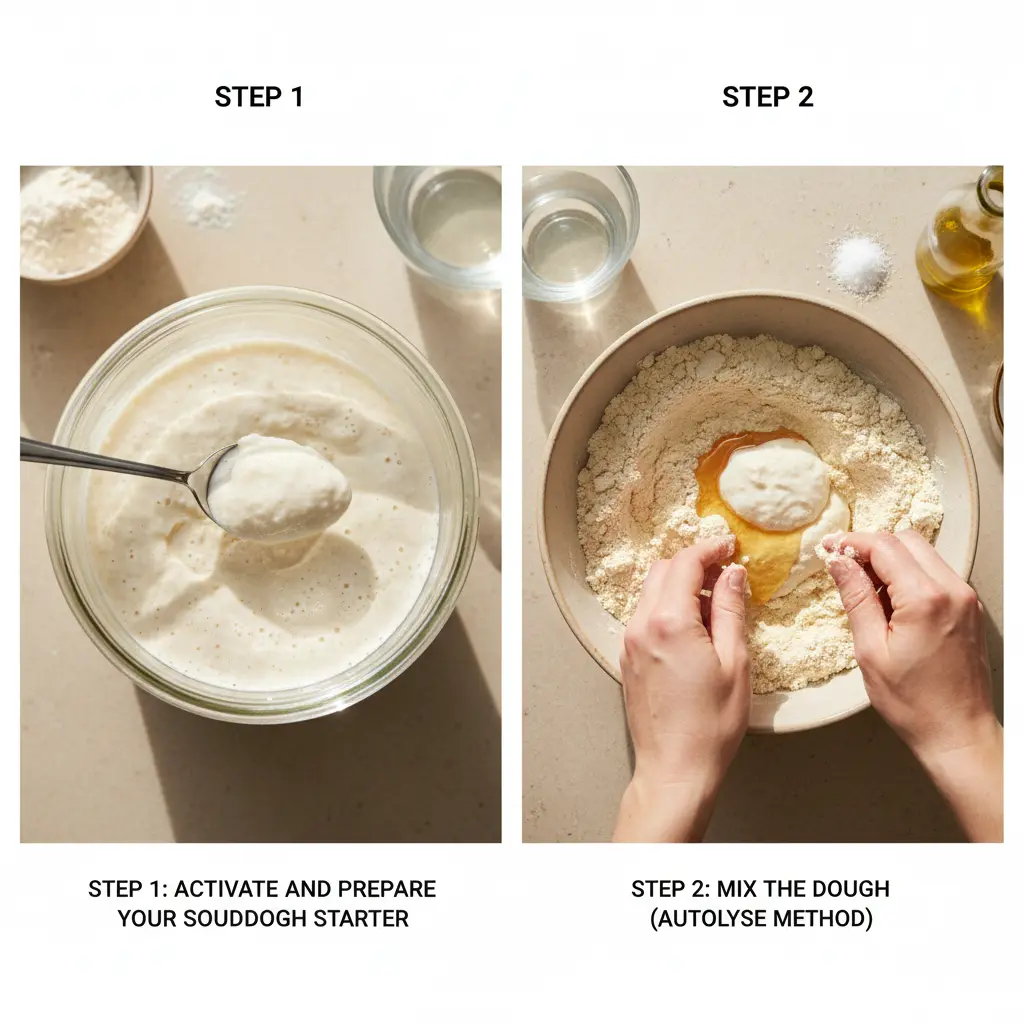
Step 1: Activate and Prepare Your Sourdough Starter
Begin by feeding your sourdough starter 4-8 hours before mixing your dough. Combine equal parts starter, flour, and water (for example: 30g starter + 30g flour + 30g water). Your starter should double in size, show plenty of bubbles, and pass the “float test”—a small spoonful should float in water when it’s ready. This step is non-negotiable for a successful sourdough pizza crust recipe, as an active starter provides the leavening power and tangy flavor that defines this style of crust.
Pro Tip: If your starter lives in the refrigerator, give it two feedings 12 hours apart before using it for optimal fermentation activity.
Step 2: Mix the Dough (Autolyse Method)
In a large mixing bowl, combine the bread flour and water, stirring until no dry flour remains. Let this mixture rest for 30-60 minutes—this process, called autolyse, allows the flour to fully hydrate and begins gluten development before you add the starter and salt. After the autolyse, add your active sourdough starter and honey (if using), squishing the mixture through your fingers until fully incorporated. The dough will feel shaggy and rough—this is exactly right.
Wait 10 minutes, then add the salt and olive oil, working them in with wet hands using a pinching and folding motion. The dough will initially feel slippery but will come together beautifully after a few minutes of mixing.
Pro Tip: Wet your hands with water rather than dusting with flour to prevent adding excess flour, which can make your crust dense.
Step 3: Bulk Fermentation with Stretch and Folds
Transfer your dough to a lightly oiled bowl. During the first 2 hours of bulk fermentation, perform a series of “stretch and folds” every 30 minutes (that’s 4 sets total). To do this, wet your hand, grab one side of the dough, stretch it upward, and fold it over itself. Rotate the bowl 90 degrees and repeat until you’ve worked all four “sides” of the dough.
This technique, essential to any professional sourdough pizza crust recipe, builds strength and structure without aggressive kneading. You’ll notice the dough transform from shaggy and loose to smooth and elastic—visual proof that gluten development is working its magic.
After the stretch and folds, let the dough continue fermenting undisturbed for another 2-4 hours until it’s increased in volume by about 50% and shows visible bubbles on the surface.
Pro Tip: In a 68-72°F kitchen, bulk fermentation takes 4-6 hours. Warmer environments speed this up; cooler temperatures slow it down.
Step 4: Divide and Pre-Shape
Once bulk fermentation is complete, turn your dough out onto a lightly floured surface. Divide it into 2 or 4 equal portions, depending on your desired pizza size. Gently pre-shape each portion into a round by folding the edges toward the center, then flip it seam-side down.
Let these rounds rest for 15-20 minutes (this relaxation period is called the “bench rest”), which makes the dough easier to shape into pizza rounds later. Cover with a damp tea towel to prevent surface drying.
Pro Tip: Use a kitchen scale for precise division—evenly sized dough balls ensure uniform baking and professional-looking results.

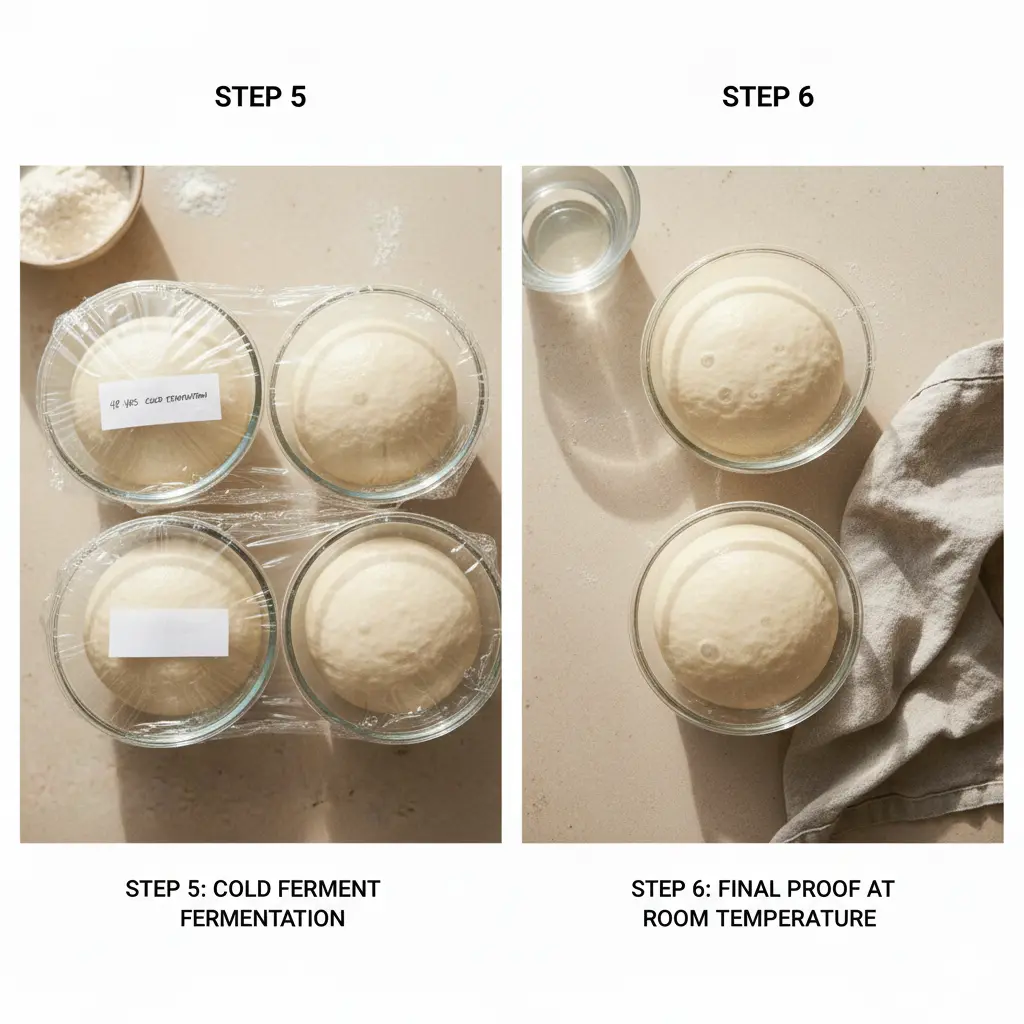
Step 5: Cold Fermentation (Highly Recommended)
Here’s where this sourdough pizza crust recipe truly transcends ordinary pizza dough. Place each dough ball in a lightly oiled container or bowl, cover tightly with plastic wrap or a lid, and refrigerate for 24-72 hours. This cold fermentation period dramatically enhances flavor complexity, improves digestibility by breaking down gluten and complex carbohydrates, and creates those coveted air bubbles in the finished crust.
Research shows that 48-hour cold fermentation produces the most balanced flavor profile—long enough for significant flavor development, but not so long that excessive acidity dominates.
Pro Tip: If you’re short on time, you can skip cold fermentation and proceed directly to shaping after a 1-hour rest at room temperature, though the flavor won’t be quite as developed.
Step 6: Bring to Room Temperature and Final Proof
Two hours before you plan to bake, remove your dough from the refrigerator and let it warm to room temperature. This final proofing period allows the dough to relax and become extensible, making it dramatically easier to stretch into pizza rounds without springing back.
You’ll know your dough is ready when it feels soft, pillowy, and slightly puffy—pressing a floured finger into the dough should leave an indent that slowly springs back halfway.
Pro Tip: Place dough balls on a lightly floured surface or parchment paper during final proofing to prevent sticking.
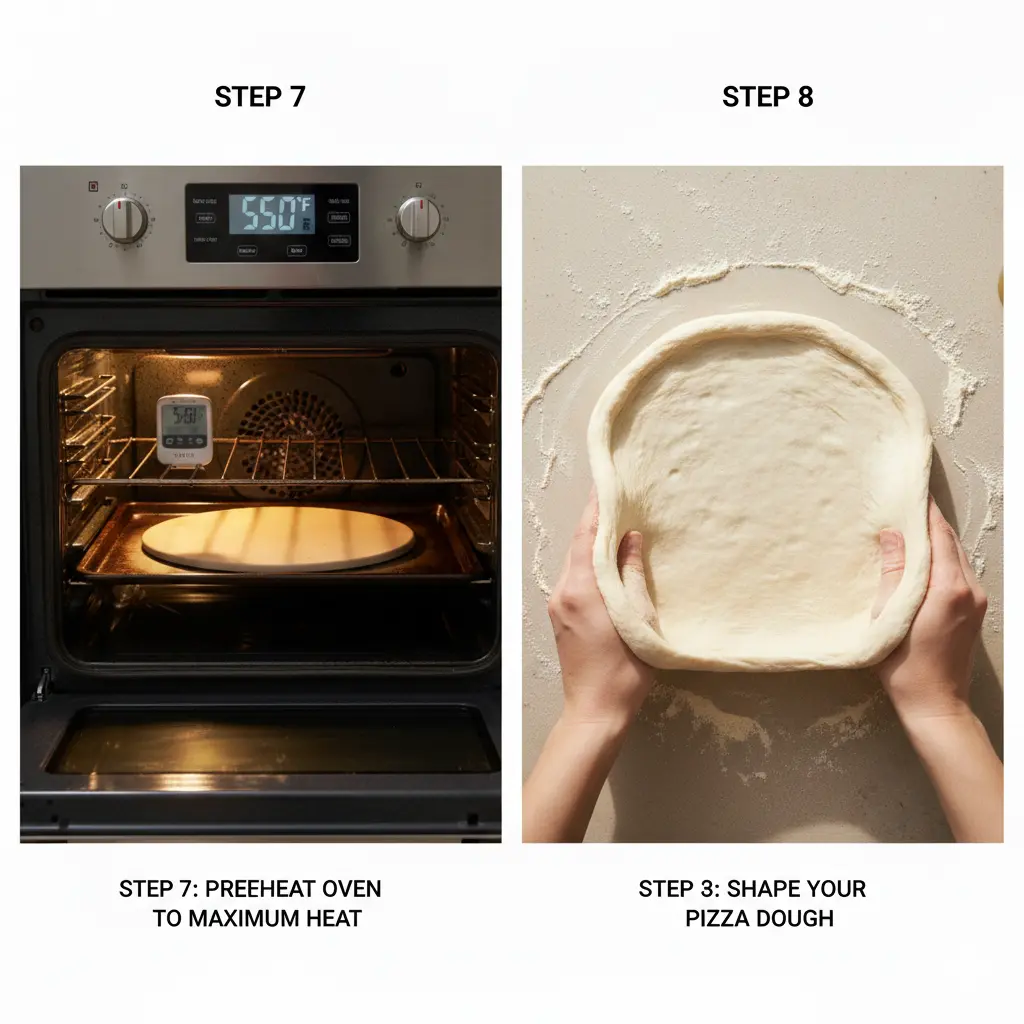
Step 7: Preheat Your Oven to Maximum Heat
Position your oven rack in the upper third of the oven and preheat to the highest temperature your oven allows (typically 500-550°F) for at least 45 minutes. If you have a pizza stone or steel, place it in the oven during preheating—these tools absorb and radiate intense heat, creating the crispy bottom crust that defines exceptional pizza.
For those without a pizza stone, an inverted heavy-duty baking sheet works surprisingly well. The key principle in any sourdough pizza crust recipe is intense, sustained heat that mimics a professional pizza oven’s environment.
Pro Tip: Place your pizza stone on the oven floor or lowest rack position for even more intense bottom heat.
Step 8: Shape Your Pizza Dough
Generously dust your work surface with semolina flour or cornmeal. Working with one dough ball at a time (keep others covered), gently press the dough into a flat disk using your fingertips, starting from the center and working outward. Leave a slightly thicker border around the edge—this becomes your crust.
Once you have a 6-inch disk, use gravity to help stretch the dough: drape it over your knuckles and gently rotate, allowing the weight of the dough to stretch it into a 10-12 inch round. Don’t use a rolling pin, which deflates those precious air bubbles you’ve spent days developing.
If the dough resists stretching, let it rest for 5 minutes and try again—patience prevents tearing.
Pro Tip: For a rustic, artisan look, embrace irregular shapes and don’t obsess over perfect circles.
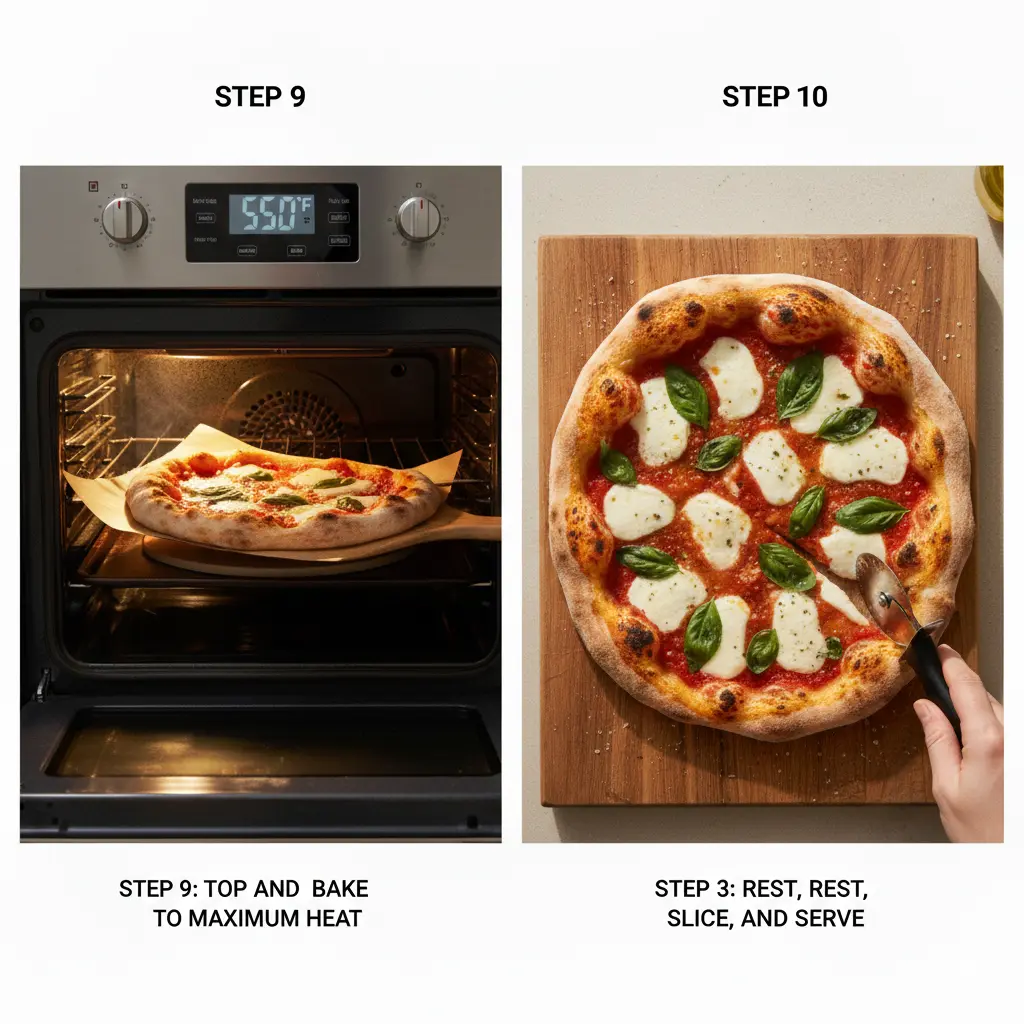
Step 9: Top and Bake Your Sourdough Pizza
Transfer your stretched dough to a piece of parchment paper or a well-floured pizza peel. Work quickly now—add your sauce (leaving a ½-inch border), cheese, and toppings with a light hand. Overloading prevents proper crisping.
Slide the pizza (parchment and all, if using) onto your preheated stone or baking sheet. Bake for 8-12 minutes, rotating halfway through for even browning. Your pizza is done when the crust is deeply golden with characteristic leopard-spotting, the cheese is bubbling enthusiastically, and the bottom sounds hollow when tapped.
The distinctive tang and complex flavor of this sourdough pizza crust recipe shines brightest with simple toppings—classic Margherita or minimal combinations that let the crust be the star.
Pro Tip: For extra crispy bottoms, finish your pizza under the broiler for 30-60 seconds, watching carefully to prevent burning.
Step 10: Rest, Slice, and Serve
This is the hardest step: let your pizza rest for 2-3 minutes before slicing. This brief wait allows the cheese to set slightly and prevents toppings from sliding off. Use a sharp pizza cutter or chef’s knife to slice into 6-8 wedges.
Brush the crust edges with olive oil and sprinkle with flaky sea salt for a professional finishing touch that elevates your homemade pizza to restaurant quality.
Pro Tip: Serve immediately for the ultimate textural experience—sourdough pizza crust is at its absolute best fresh from the oven.
Nutritional Information
Per serving (1/4 of recipe, one 12-inch pizza serving two people):
- Calories: 385 kcal
- Carbohydrates: 72g
- Protein: 12g
- Fat: 5g (including 1g saturated fat)
- Fiber: 3g
- Sugar: 1g
- Sodium: 580mg
- Calcium: 2% DV
- Iron: 15% DV