How to Cook Tri Tip
How to Cook Tri Tip: The Ultimate Guide to a Perfect, Juicy Roast
Ingredients: Everything You Need for Perfect Tri Tip
The beauty of a great tri tip recipe lies in its simplicity. You don’t need a long shopping list — just high-quality, fresh ingredients that let the natural flavor of the beef take center stage.
For the Tri Tip Roast (serves 4–6):
- 1 tri tip roast (2.5 to 3 lbs) — look for one with good marbling and a fat cap of at least 1/4 inch
- 2 tablespoons olive oil or avocado oil (high smoke point preferred)
- 1 tablespoon kosher salt (substitute: flaky sea salt)
- 1 teaspoon freshly cracked black pepper
- 1 teaspoon garlic powder
- 1 teaspoon smoked paprika (substitute: regular paprika + 1/4 tsp chipotle powder)
- 1/2 teaspoon onion powder
- 1/2 teaspoon dried rosemary, crushed
- 1/4 teaspoon cayenne pepper (optional, for a slight kick)
For the Optional Santa Maria-Style Marinade:
- 1/4 cup red wine vinegar
- 1/4 cup olive oil
- 4 garlic cloves, minced
- 1 tablespoon Worcestershire sauce
- 1 teaspoon dried oregano
- 1/2 teaspoon crushed red pepper flakes
Substitution Notes:
No smoked paprika? Use sweet paprika and add 1/2 teaspoon liquid smoke to the marinade. Watching sodium? Reduce the salt to 1.5 teaspoons and compensate with extra herbs. For a sweeter crust, add 1 teaspoon of brown sugar to the dry rub — it caramelizes beautifully under high heat.
Timing: How Long Does It Take to Cook Tri Tip?
One of the biggest advantages of cooking tri tip is its relatively quick cook time compared to other slow-roasted beef cuts. Here’s how the timing breaks down:
| Stage | Time | Notes |
| Marinating (optional) | 2–8 hours | Longer = deeper flavor; overnight is ideal |
| Prep & seasoning | 15–20 min | Bring meat to room temp first |
| Cooking (oven method) | 45–60 min | Depends on weight & desired doneness |
| Resting | 15 min | Non-negotiable for juicy results |
| Total (without marinating) | ~80 min | 20% faster than average roast recipes |
At roughly 80 minutes total (active + passive), this is approximately 20% less time than the average beef roast recipe, which typically clocks in at 100 minutes or more. The grill method can shave an additional 10–15 minutes off the cooking time.
Step-by-Step Instructions: How to Cook Tri Tip Perfectly
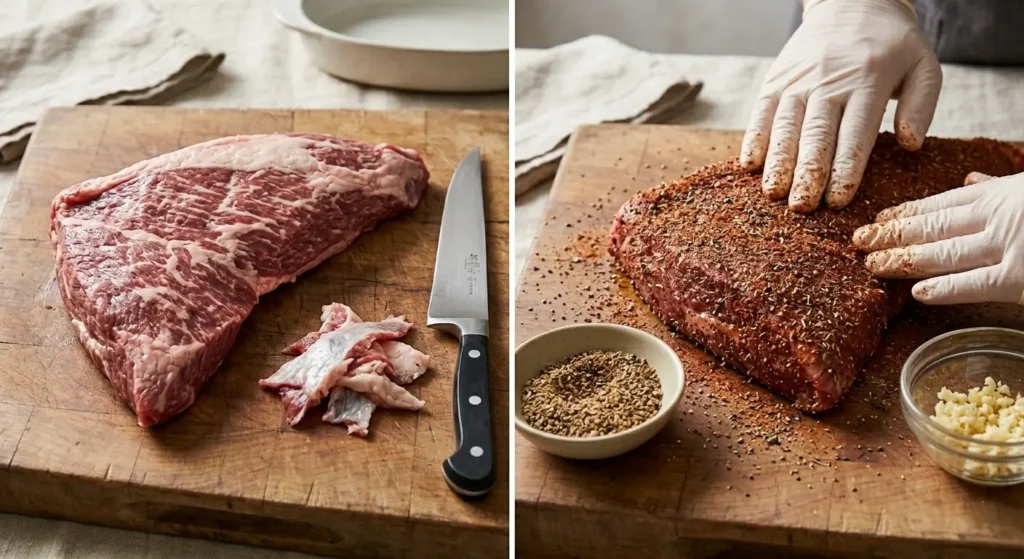
Step 1: Source and Prep Your Tri Tip Roast
Your journey to a perfect tri tip starts at the butcher counter. Look for a roast with visible marbling throughout the muscle and a fat cap that’s roughly 1/4 to 1/2 inch thick — this fat will baste the meat during cooking and contribute enormously to flavor. If you can, choose USDA Choice or Prime grade beef.
Remove the tri tip from the refrigerator 45–60 minutes before cooking. This step is critical: bringing the meat to room temperature ensures even cooking from edge to center. A cold roast dropped into a hot oven or onto a grill will cook unevenly, leaving the outer layers overcooked while the center struggles to reach the target temperature.
💡 Pro Tip: Ask your butcher to trim the fat cap to exactly 1/4 inch if it seems excessively thick. Too much fat can cause flare-ups on the grill and uneven crust formation in the oven.
Step 2: Apply the Dry Rub or Marinade
Pat the tri tip completely dry with paper towels — this is the single most important step for achieving a beautiful, deep-brown crust. Moisture is the enemy of the Maillard reaction (the browning process that creates complex, savory flavor). Once dry, rub the entire surface with olive oil, then coat generously and evenly with the dry rub mixture.
Press the spices firmly into the meat with your hands to help them adhere. Don’t just sprinkle — massage. Make sure to cover the bottom, sides, and all the nooks around the fat cap. For the marinade version, combine all marinade ingredients in a zip-lock bag or shallow dish, add the seasoned roast, and refrigerate for at least 2 hours or up to overnight.
💡 Pro Tip: For the most intense bark (the flavorful outer crust), apply the dry rub 24 hours in advance and leave the roast uncovered on a rack in the refrigerator. This dry brining technique draws out moisture and then reabsorbs it back into the meat along with the seasonings.
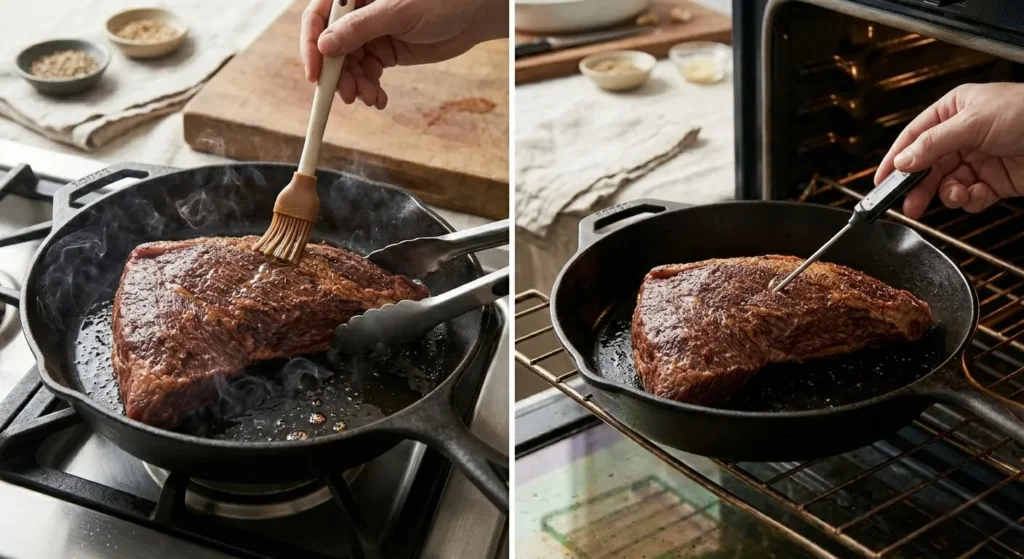
Step 3: Sear for a Flavorful Crust
Whether you’re using the oven method or the grill, a hard, high-heat sear is what separates good tri tip from great tri tip. Heat a cast-iron skillet or heavy oven-safe pan over high heat until it’s smoking hot — this takes 3–4 minutes on a gas burner. Add a splash of high smoke point oil (avocado or refined grapeseed work beautifully), then lay the roast fat-cap-side down.
Sear undisturbed for 3–4 minutes until you get a deep mahogany crust, then flip and sear the other side for 2–3 minutes. Use tongs to briefly sear the edges as well. You’re building layers of flavor here through caramelization and the Maillard reaction — don’t rush this step.
💡 Pro Tip: Hear that aggressive sizzle? That’s the sound of flavor being made. If your pan isn’t smoking before you add the meat, it’s not hot enough. A proper sear should sound like a rainstorm, not a drizzle.
Step 4: Roast to Your Ideal Internal Temperature
Preheat your oven to 425°F (220°C). After searing, transfer the skillet directly to the oven (or move the seared roast to a roasting rack set over a sheet pan). Insert an instant-read or probe thermometer into the thickest part of the meat, avoiding the fat seam in the center.
Roast until the internal temperature reaches your desired doneness. Here’s a quick reference guide: Rare = 120–125°F, Medium-Rare = 130–135°F (highly recommended for tri tip), Medium = 140–145°F, Well-Done = 155°F+ (not recommended as the meat can become dry). Remember that the temperature will continue to rise 5–10°F during resting (carryover cooking), so pull the roast 5–8 degrees below your target temperature.
💡 Pro Tip: The reverse sear method — roasting low at 250°F first, then searing at the end — gives you even more precise temperature control and an exceptionally uniform cook. This method is especially useful for a thicker roast above 3 lbs.
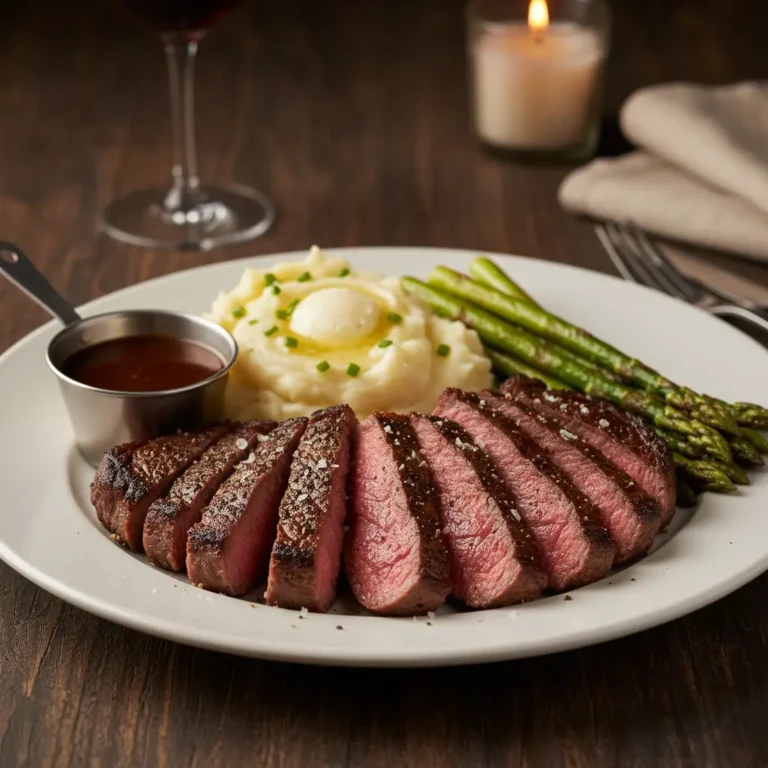
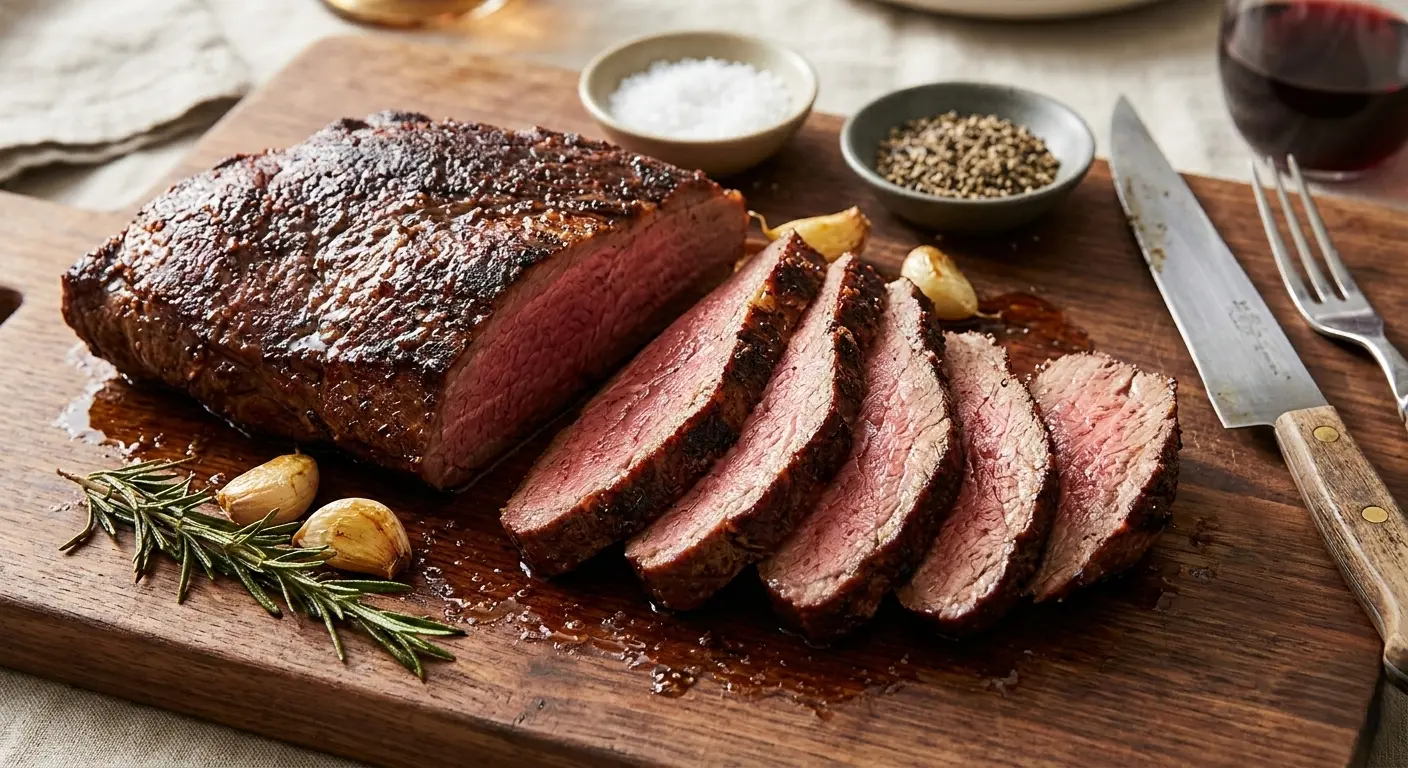
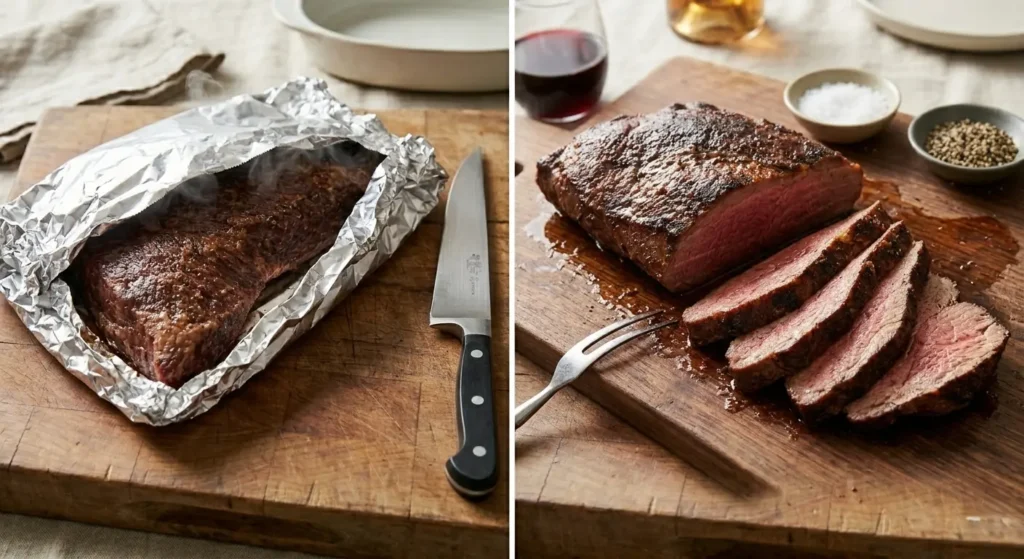
Step 5: Rest, Then Slice Against the Grain
This is the step most home cooks skip — and it’s the difference between a juicy, tender roast and a disappointingly dry one. Remove the tri tip from the oven, tent it loosely with aluminum foil, and let it rest for at least 15 minutes. During cooking, the muscle fibers contract and push juices toward the center. Resting allows those fibers to relax and reabsorb the juices throughout the entire roast.
Now, the most critical slicing technique: tri tip has two distinct grain directions that meet in the middle. Before slicing, identify the grain lines on each section. Slice the pointed end perpendicular to its grain, then rotate and slice the larger end perpendicular to its grain. Always use a sharp carving knife and cut slices about 1/4 inch thick. Slicing with the grain (instead of against it) will give you chewy, tough results — the exact opposite of what this beautiful cut deserves.
💡 Pro Tip: Lay your rested tri tip on a cutting board with the fat cap down. Look carefully for the muscle grain lines — they run in slightly different directions on each half of the roast. Taking 10 seconds to identify them before you slice will make a world of difference in tenderness.
Nutritional Information (Per 4 oz / 113g Serving)
Tri tip is not only delicious — it’s also a nutritionally dense protein source. Here’s the approximate nutritional breakdown for a 4 oz serving of cooked tri tip (without marinade):
| Nutrient | Amount |
| Calories | 220 kcal |
| Protein | 26g |
| Total Fat | 12g |
| Saturated Fat | 4.5g |
| Carbohydrates | 0g |
| Cholesterol | 75mg |
| Sodium | 420mg (with rub) |
| Iron | 15% DV |
| Zinc | 30% DV |
Tri tip is an excellent source of complete protein and provides significant amounts of zinc, B12, and iron — nutrients crucial for immune function, energy metabolism, and red blood cell production. At around 220 calories per 4 oz serving, it’s a leaner option than ribeye (which averages 290+ calories) while still delivering exceptional flavor. The naturally occurring fat content contributes to satiety, making it a satisfying choice for low-carb and ketogenic eating patterns.
Note: Nutritional values are estimates based on USDA data for bottom sirloin. Values will vary depending on the exact fat trimming, marinade absorption, and cooking method used.