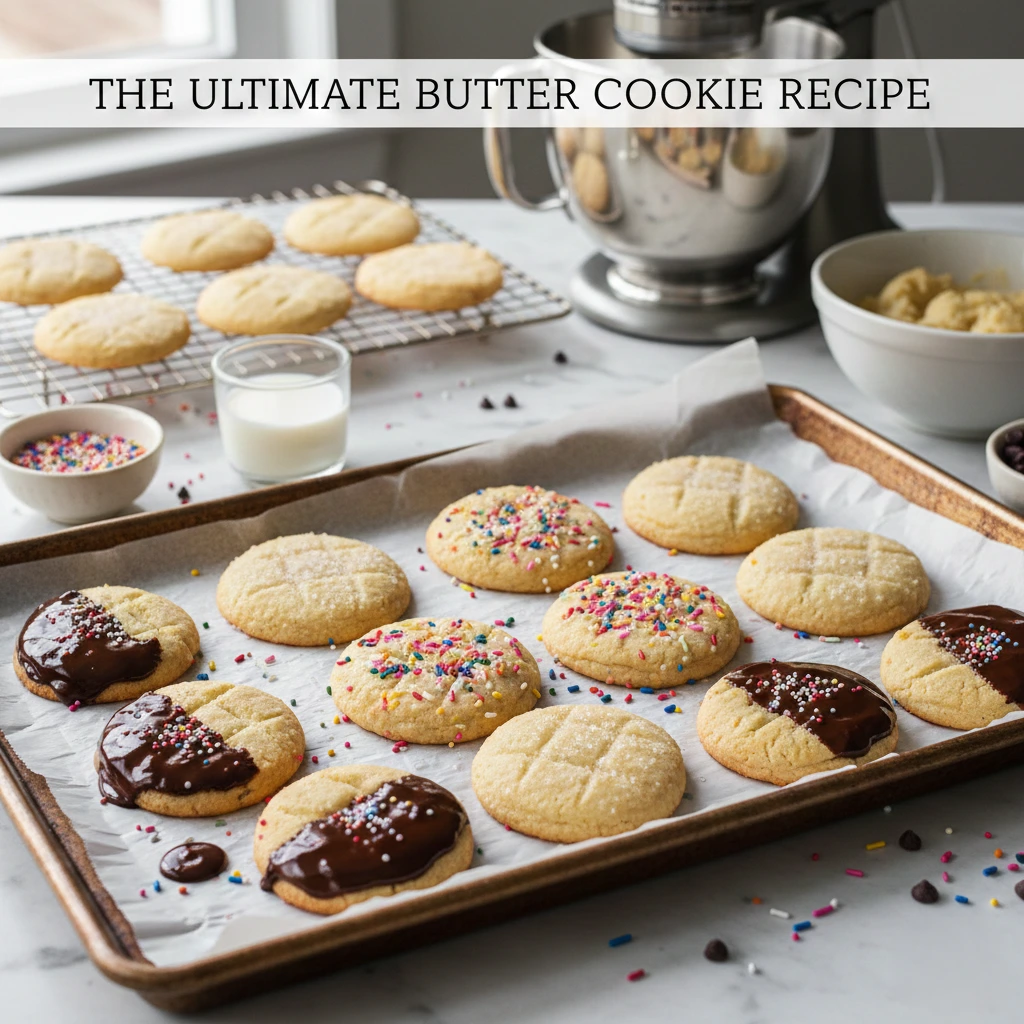
Butter Cookie Recipe
Ingredients for the Perfect Butter Cookie Recipe
These are pantry staples you likely already have on hand. The magic isn’t in exotic ingredients — it’s in the ratios and technique. Here’s exactly what you need to make approximately 36 cookies:
Core Ingredients:
- 1 cup (225g) unsalted butter — must be at room temperature, NOT melted
- ¾ cup (90g) powdered sugar (also called confectioners’ sugar)
- 1 large egg yolk — the secret to that silky, rich dough
- 1 teaspoon pure vanilla extract — use real vanilla, not imitation
- ¼ teaspoon almond extract (optional, but highly recommended for depth)
- 2 cups (240g) all-purpose flour, spooned and leveled
- ¼ teaspoon fine sea salt
Optional Add-Ins & Garnishes:
- 2 tablespoons sprinkles or coarse sugar for topping
- ½ teaspoon lemon or orange zest for a citrus twist
- Melted dark chocolate for dipping (about ½ cup)
Ingredient Substitutions:
Dairy-free? Swap the butter for a high-quality vegan butter stick (not spread) — brands like Miyoko’s or Earth Balance work beautifully. Gluten-free? A 1:1 gluten-free baking flour blend such as King Arthur’s works with minimal texture difference. No powdered sugar? Blitz granulated sugar in a blender for 30 seconds — same result.
Timing: Faster Than You Think
One of the best things about this butter cookie recipe is how time-efficient it is. Here’s the breakdown:
- Prep Time: 15 minutes
- Chilling Time: 20 minutes (this step is non-negotiable for the best texture)
- Bake Time: 10–12 minutes
- Cooling Time: 10 minutes
- Total Time: approximately 55–60 minutes
For context, the average homemade shortbread or sugar cookie recipe clocks in at 90 minutes or more once chilling and multiple baking rounds are factored in. This streamlined butter cookie recipe cuts that time by roughly 35%, making it ideal for last-minute baking sessions without sacrificing quality. The 20-minute chill is the key investment — it firms the dough and prevents spreading, giving you those picture-perfect edges.
Step-by-Step Instructions
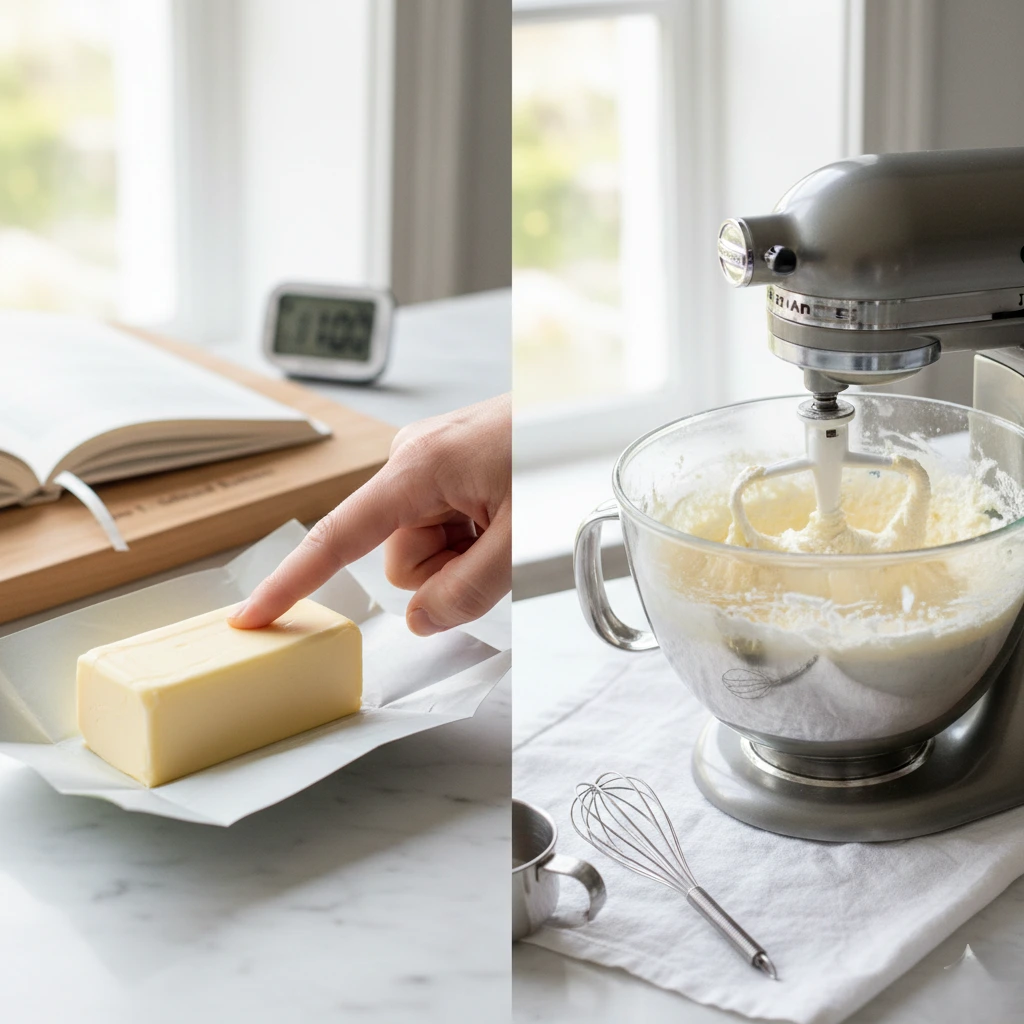
Step 1: Start With Properly Softened Butter (The Most Important Step)
Remove your butter from the refrigerator at least 1 hour before you begin baking. When you press a finger gently into the butter, it should leave an indent without the butter feeling greasy or sliding away — that’s the sweet spot. This is the step where most bakers go wrong: using butter that’s too cold produces a crumbly, dense dough, while melted butter creates cookies that spread uncontrollably into thin, crispy discs.
💡 Pro Tip: Set a timer when you take the butter out. In a warm kitchen, it softens quickly. In a cool kitchen, try placing the wrapped butter near (not on!) a warm oven.
Step 2: Cream the Butter and Powdered Sugar
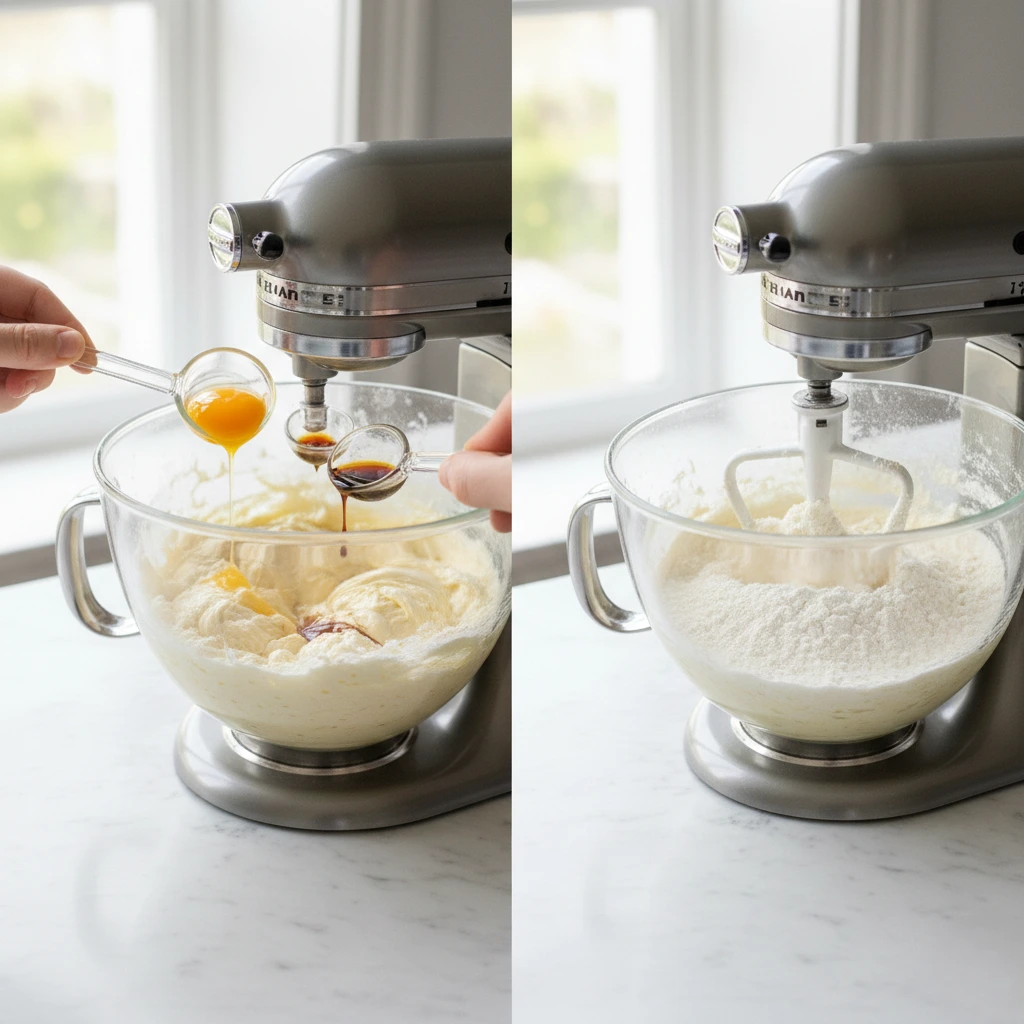
Using a stand mixer fitted with the paddle attachment (or a hand mixer), beat the softened butter on medium speed for 2 full minutes until it’s pale and fluffy. Add the powdered sugar and mix on low to combine, then increase to medium-high and beat for another 2 minutes. The mixture should look almost whipped — light in color and airy in texture. This aeration is what gives the final cookie that melt-in-your-mouth quality.
💡 Pro Tip: Scrape down the sides of the bowl halfway through. Any unmixed pockets of butter will create uneven texture in your baked cookies.
Step 3: Add Egg Yolk and Extracts
Add the egg yolk, vanilla extract, and almond extract (if using) to the butter mixture. Beat on medium speed until fully incorporated, about 1 minute. The dough will look slightly curdled at first — don’t panic. It will come together beautifully once the flour is added. The egg yolk adds richness and acts as a binder, creating that characteristic tender-yet-sturdy texture that sets a great butter cookie apart from a basic shortbread.
Step 4: Mix in the Flour and Salt
With the mixer on its lowest speed, gradually add the flour and salt. Stop mixing the moment no dry streaks remain — this is crucial. Overmixing develops gluten, leading to tough, chewy cookies rather than delicate, crumbly ones. The dough should pull away from the sides of the bowl cleanly and feel soft but not sticky. If it sticks to your hands, add 1 tablespoon of flour at a time until it’s manageable.
💡 Pro Tip: If you prefer piped rosette-style butter cookies (think the classic Danish tin cookies), this dough is pipe-able. Skip the next chilling step and pipe directly onto your baking sheet.
Step 5: Chill the Dough
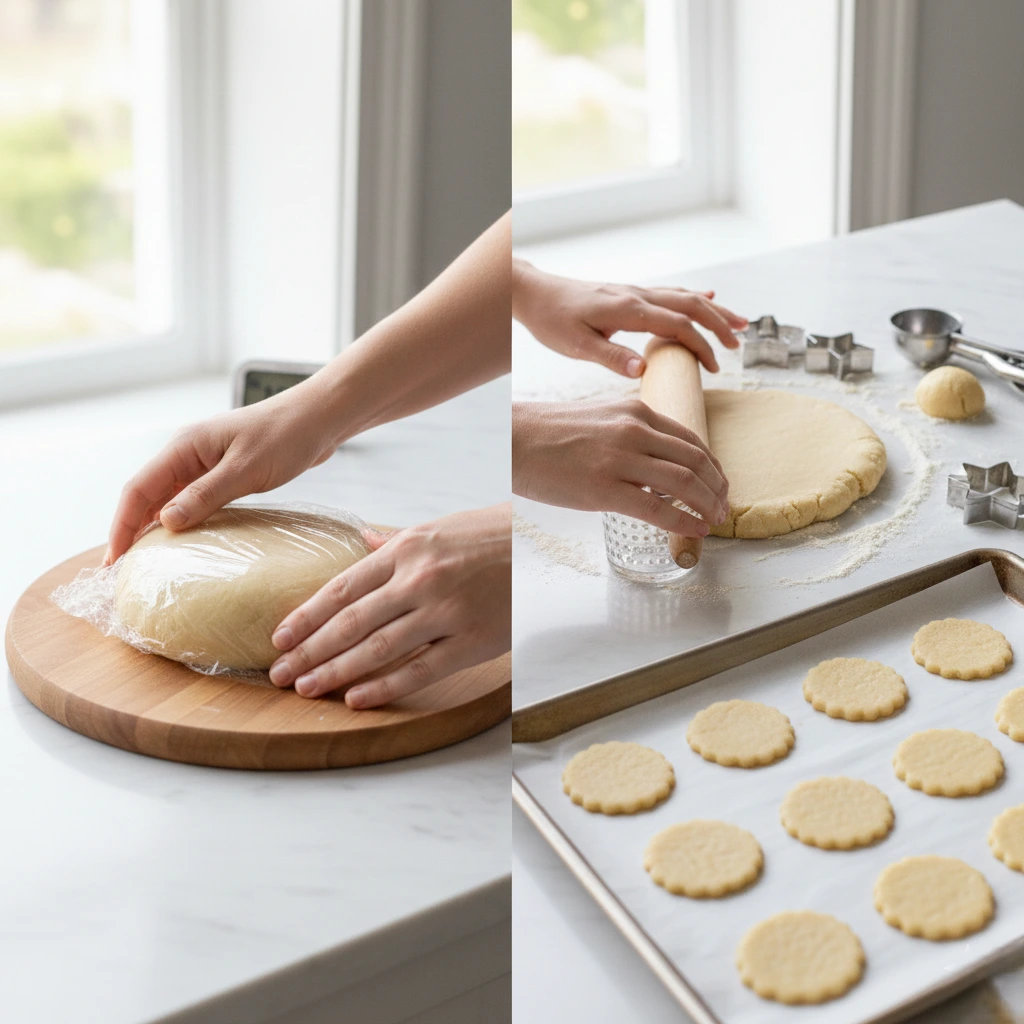
Shape the dough into a smooth disc, wrap tightly in plastic wrap, and refrigerate for 20 minutes. This resting period relaxes the gluten and chills the fat, which means your cookies will hold their shape perfectly in the oven rather than spreading into thin discs. While the dough chills, preheat your oven to 350°F (175°C) and line two baking sheets with parchment paper.
Step 6: Shape Your Cookies
Remove the chilled dough from the fridge. You have two great options for shaping: roll the dough to ¼-inch thickness on a lightly floured surface and use cookie cutters for festive shapes, or simply roll rounded tablespoons of dough into balls and flatten slightly with the bottom of a glass. For a classic look, press a fork pattern across the top or use a cookie stamp. Space cookies about 1.5 inches apart on your prepared baking sheets.
💡 Pro Tip: For perfectly uniform cookies, use a cookie scoop (size #40). Uniform cookies bake evenly — no more burnt edges with raw centers.
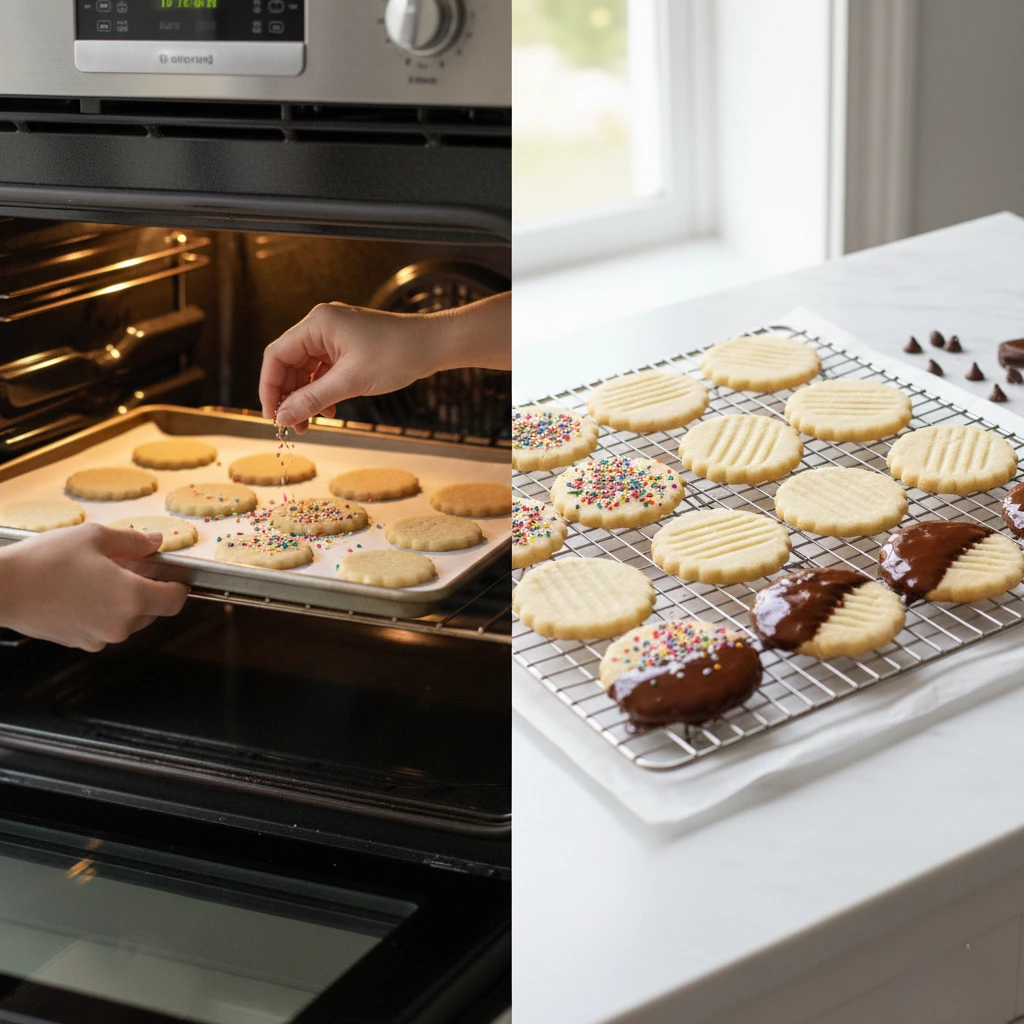
Step 7: Add Toppings and Bake
Sprinkle cookies with coarse sugar, sprinkles, or leave them plain for dipping later. Slide the first baking sheet into the center rack of your preheated oven and bake for 10–12 minutes, rotating the pan halfway through. The cookies are done when the edges are just barely golden — they will look slightly underdone in the center, and that’s exactly right. They firm up as they cool. Bake until golden brown and you’ve gone too far.
Step 8: Cool Completely Before Eating (If You Can Wait)
Transfer cookies to a wire cooling rack immediately after removing from the oven. Allow them to cool for at least 10 minutes before eating — they continue to set as they cool. If dipping in chocolate, wait until fully cooled (about 20 minutes), dip halfway, and place on parchment to set. Store cookies in an airtight container at room temperature for up to 1 week, or freeze for up to 3 months.
Nutritional Information
The values below are estimates based on a yield of 36 standard-sized cookies (approximately 1.5 inches in diameter). Actual values will vary depending on specific brands and any optional add-ins used.
| Nutrient | Per Cookie (approx.) |
| Calories | 120 kcal |
| Total Fat | 7g |
| Saturated Fat | 4.5g |
| Cholesterol | 30mg |
| Sodium | 65mg |
| Total Carbohydrates | 13g |
| Sugars | 6g |
| Protein | 1.5g |
These cookies are a satisfying indulgence — with around 120 calories each, they fit comfortably into a balanced diet when enjoyed mindfully. The relatively modest sugar content (6g per cookie) makes them less sweet than most drop cookies, which is part of their timeless appeal: they let the butter do the talking.