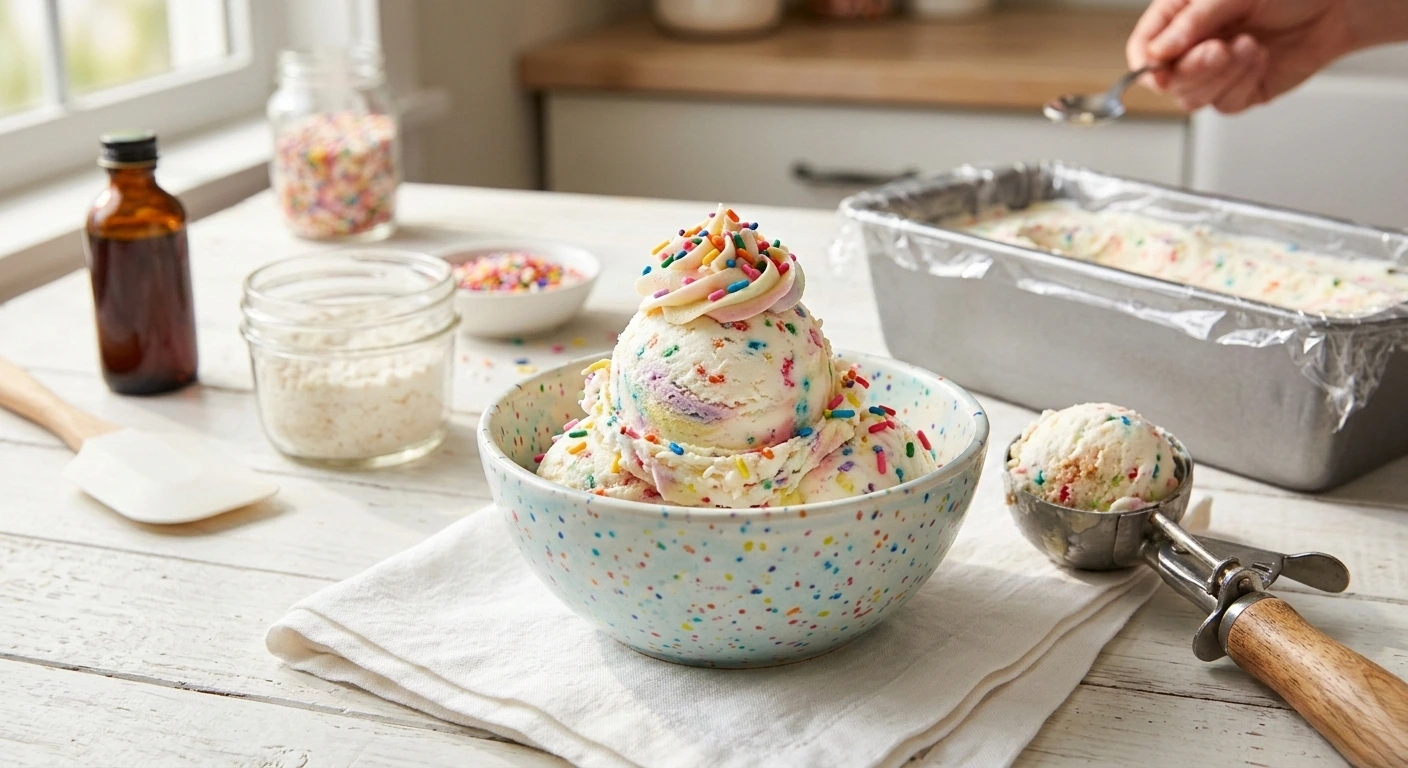
Birthday Cake Ice Cream
Birthday Cake Ice Cream
Ingredients for the Best Birthday Cake Ice Cream
This recipe is built on pantry staples and a few magic-touch additions that give it that iconic cake batter flavor. Here’s everything you need to make 8 generous servings of the creamiest, most festive birthday cake ice cream you’ve ever tasted:
The Base
- 2 cups (480ml) heavy whipping cream — cold, straight from the fridge for maximum fluffiness
- 1 can (14 oz) sweetened condensed milk — this is your sugar AND your binder
- 1 teaspoon pure vanilla extract — use the real stuff; it makes a world of difference
- 1/2 teaspoon almond extract (optional, but adds that classic ‘birthday cake’ warmth)
The Birthday Cake Magic
- 3/4 cup (90g) dry yellow or white cake mix (uncooked) — the secret weapon for authentic cake batter flavor
- 1/2 cup rainbow sprinkles (jimmies-style, not nonpareils — they bleed less)
- 1/2 teaspoon blue or pink food coloring (optional — for that funfetti pastel swirl)
The Frosting Swirl (Optional but Highly Recommended)
- 1/2 cup vanilla buttercream frosting, store-bought or homemade
- Extra sprinkles for topping — go wild
Smart Substitutions
- Dairy-free? Use full-fat coconut cream in place of heavy cream and coconut condensed milk for a vegan version.
- Gluten-free? Swap in a gluten-free cake mix. The texture is nearly identical.
- No cake mix? Use 3 tablespoons flour + 2 tablespoons powdered sugar + 1 tablespoon butter powder as a DIY substitute.
- Extra decadent? Fold in 1/4 cup crushed Golden Oreos or vanilla wafers for a cookie crunch.
Timing — Faster Than You Think
One of the biggest myths about homemade ice cream is that it takes all day. This birthday cake ice cream recipe busts that myth completely.
| Phase | Time |
| Preparation Time | 20 minutes |
| Freeze Time (Initial) | 6 hours minimum |
| Freeze Time (Best Result) | Overnight (8–12 hours) |
| Total Hands-On Time | 20 minutes (about 75% less active time than churned ice cream recipes) |
| Pro Tip: Make this the night before a birthday party and it’s ready to scoop the moment guests arrive. Zero stress, maximum wow factor. |
Step-by-Step Instructions: How to Make Birthday Cake Ice Cream
Follow these steps carefully and you’ll end up with the most luxuriously creamy, confetti-studded birthday cake ice cream that rivals anything you’d find at a premium ice cream parlor. Let’s get started.
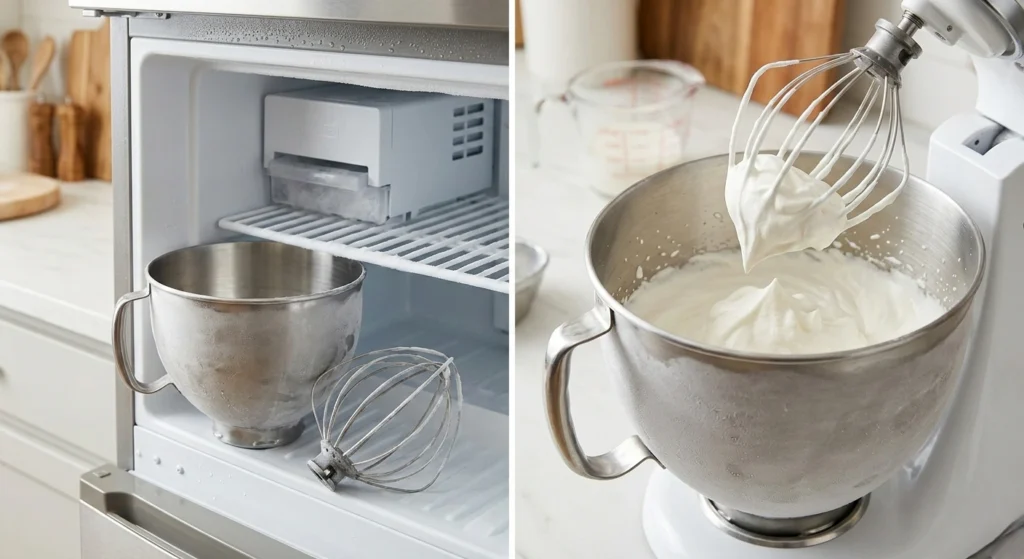
Step 1: Chill Your Tools
Before you do anything else, place your large mixing bowl and beaters (or the bowl of your stand mixer) in the freezer for 10–15 minutes. Cold equipment = faster whipping = airier ice cream. This is a small step that professional ice cream makers swear by, and it takes your homemade result from good to exceptional.
Step 2: Whip the Heavy Cream to Stiff Peaks
Pour your 2 cups of cold heavy whipping cream into the chilled bowl. Using a hand mixer or stand mixer fitted with the whisk attachment, beat on medium-high speed for 3–4 minutes until stiff peaks form. You want the cream to hold its shape when the beater is lifted — like a billowy cloud that doesn’t collapse. Do not over-whip or you’ll head toward butter territory.
| Tip: The cream whips best when it’s very cold. If your kitchen is warm, nest your mixing bowl in a larger bowl filled with ice water while you whip. |
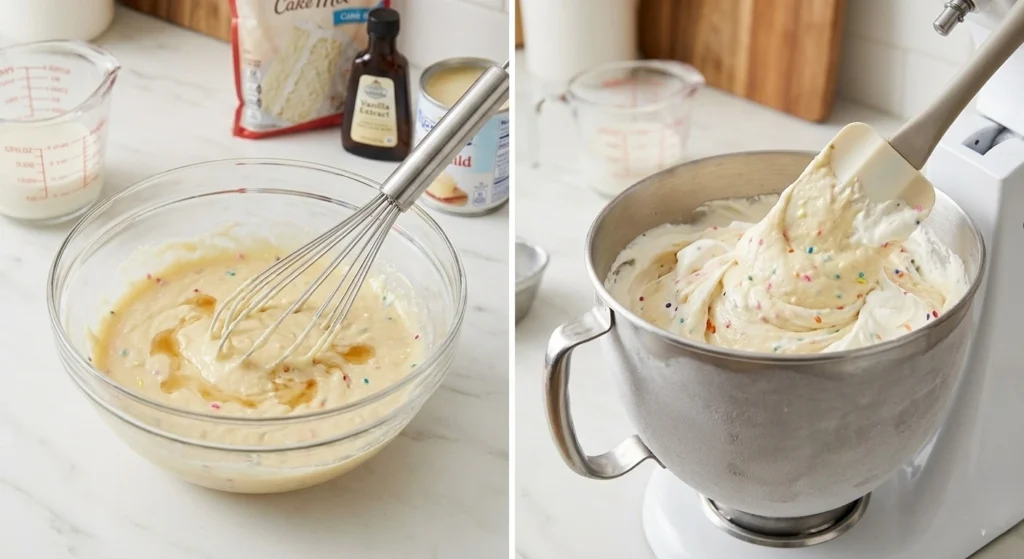
Step 3: Mix the Condensed Milk Base
In a separate bowl, whisk together the sweetened condensed milk, vanilla extract, almond extract (if using), and the dry cake mix. Stir until the cake mix is fully incorporated and no lumps remain. This mixture is the flavor engine of your birthday cake ice cream — it’s what gives every scoop that unmistakable funfetti birthday cake batter taste.
The dry cake mix adds flour, sugar, and artificial vanilla flavor compounds that replicate the exact taste of birthday cake batter. Studies on flavor psychology show that ‘birthday cake’ as a taste profile triggers strong emotional memories — which is exactly why this flavor is one of the top 5 best-selling ice cream flavors nationwide.
Step 4: Fold Everything Together
Now comes the most important step — and the one most people rush. Using a large rubber spatula, gently fold the condensed milk mixture into the whipped cream. Use slow, deliberate strokes, scraping from the bottom of the bowl up and over the top. Fold (don’t stir!) until just combined. You want to preserve as much air as possible — that air is what makes your birthday cake ice cream soft and scoopable rather than icy and dense.
Once combined, gently fold in 1/2 of your rainbow sprinkles. Save the rest for topping.
| Critical: Over-mixing deflates the whipped cream and results in a dense, icy texture. Less is more — 15 to 20 gentle folds is usually all you need. |
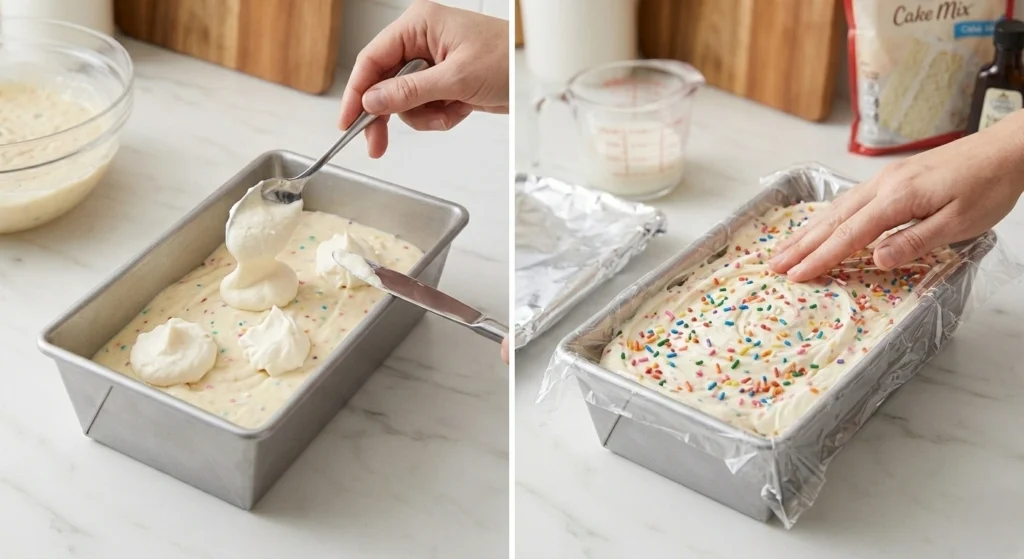
Step 5: Layer and Swirl
Pour half the ice cream mixture into a 9×5 inch loaf pan (or any freezer-safe container). Drop spoonfuls of vanilla buttercream frosting on top — about 4 to 5 dollops. Drag a butter knife or skewer through them to create beautiful frosting ribbons. Pour the remaining ice cream base on top and repeat the frosting swirl. This creates gorgeous marbled layers that look stunning when sliced.
If you’re using food coloring, drizzle a few drops over the top layer and swirl for a pastel effect.
Step 6: Add Sprinkles and Cover
Scatter the remaining rainbow sprinkles generously over the top. Don’t hold back — this is birthday cake ice cream, and it should look festive and joyful. Cover the pan tightly with plastic wrap, pressing it directly against the surface of the ice cream to prevent ice crystals from forming, then cover with a layer of foil.
Step 7: Freeze Until Set
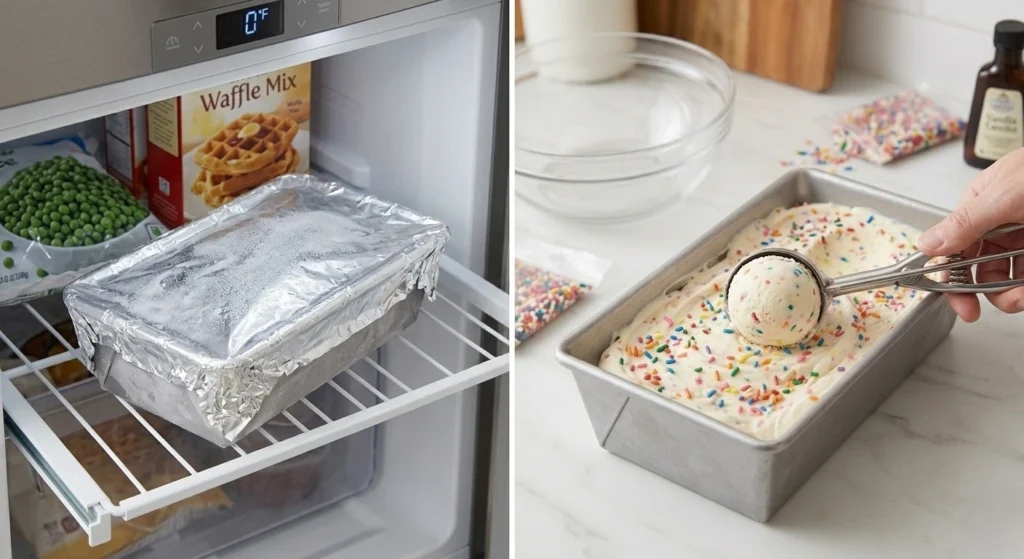
Place in the coldest part of your freezer (typically the back, away from the door) for a minimum of 6 hours. For best results — especially if you want clean, Instagram-worthy scoops — freeze overnight for 8 to 12 hours. The longer it freezes, the more the flavors meld and deepen.
| Did you know? The optimal freezer temperature for homemade ice cream is between 0°F and -10°F (-18°C to -23°C). Most home freezers sit around 0°F, which is perfect. |
Step 8: Scoop and Serve
Remove from the freezer 5 minutes before serving to allow slight softening. Dip your ice cream scoop in warm water between scoops for clean, round balls. Serve in cones, bowls, or between two cookies for the ultimate birthday cake ice cream sandwich. Top with extra sprinkles, a drizzle of buttercream, or even a candle — you deserve it.
Nutritional Information
Here’s the nutritional breakdown per 1/2 cup (approximately 100g) serving of birthday cake ice cream, based on the standard recipe above. Please note that values will vary slightly depending on your specific brand of condensed milk and cake mix.
| Nutrient | Amount Per Serving (1/2 cup) |
| Calories | 310 kcal |
| Total Fat | 18g |
| Saturated Fat | 11g |
| Cholesterol | 65mg |
| Sodium | 95mg |
| Total Carbohydrates | 34g |
| Dietary Fiber | 0g |
| Total Sugars | 29g |
| Added Sugars | 22g |
| Protein | 4g |
| Calcium | 120mg (9% DV) |
| Vitamin D | 1mcg (6% DV) |